
X-Peri-Mas #19
There are a hundred cool experiments you can do with bubbles. They are beautiful and easy to make and just so much fun that we’ve all played around with them at some point. My favourite thing about them is when the bubbles catch the light and show up full of rainbows and swirls. Let’s play around with the shapes and colours we can make with these bubble experiments!
Rainbow bubbles
The film of the bubbles makes great rainbows. Try and position the light behind you and the bubble in front.
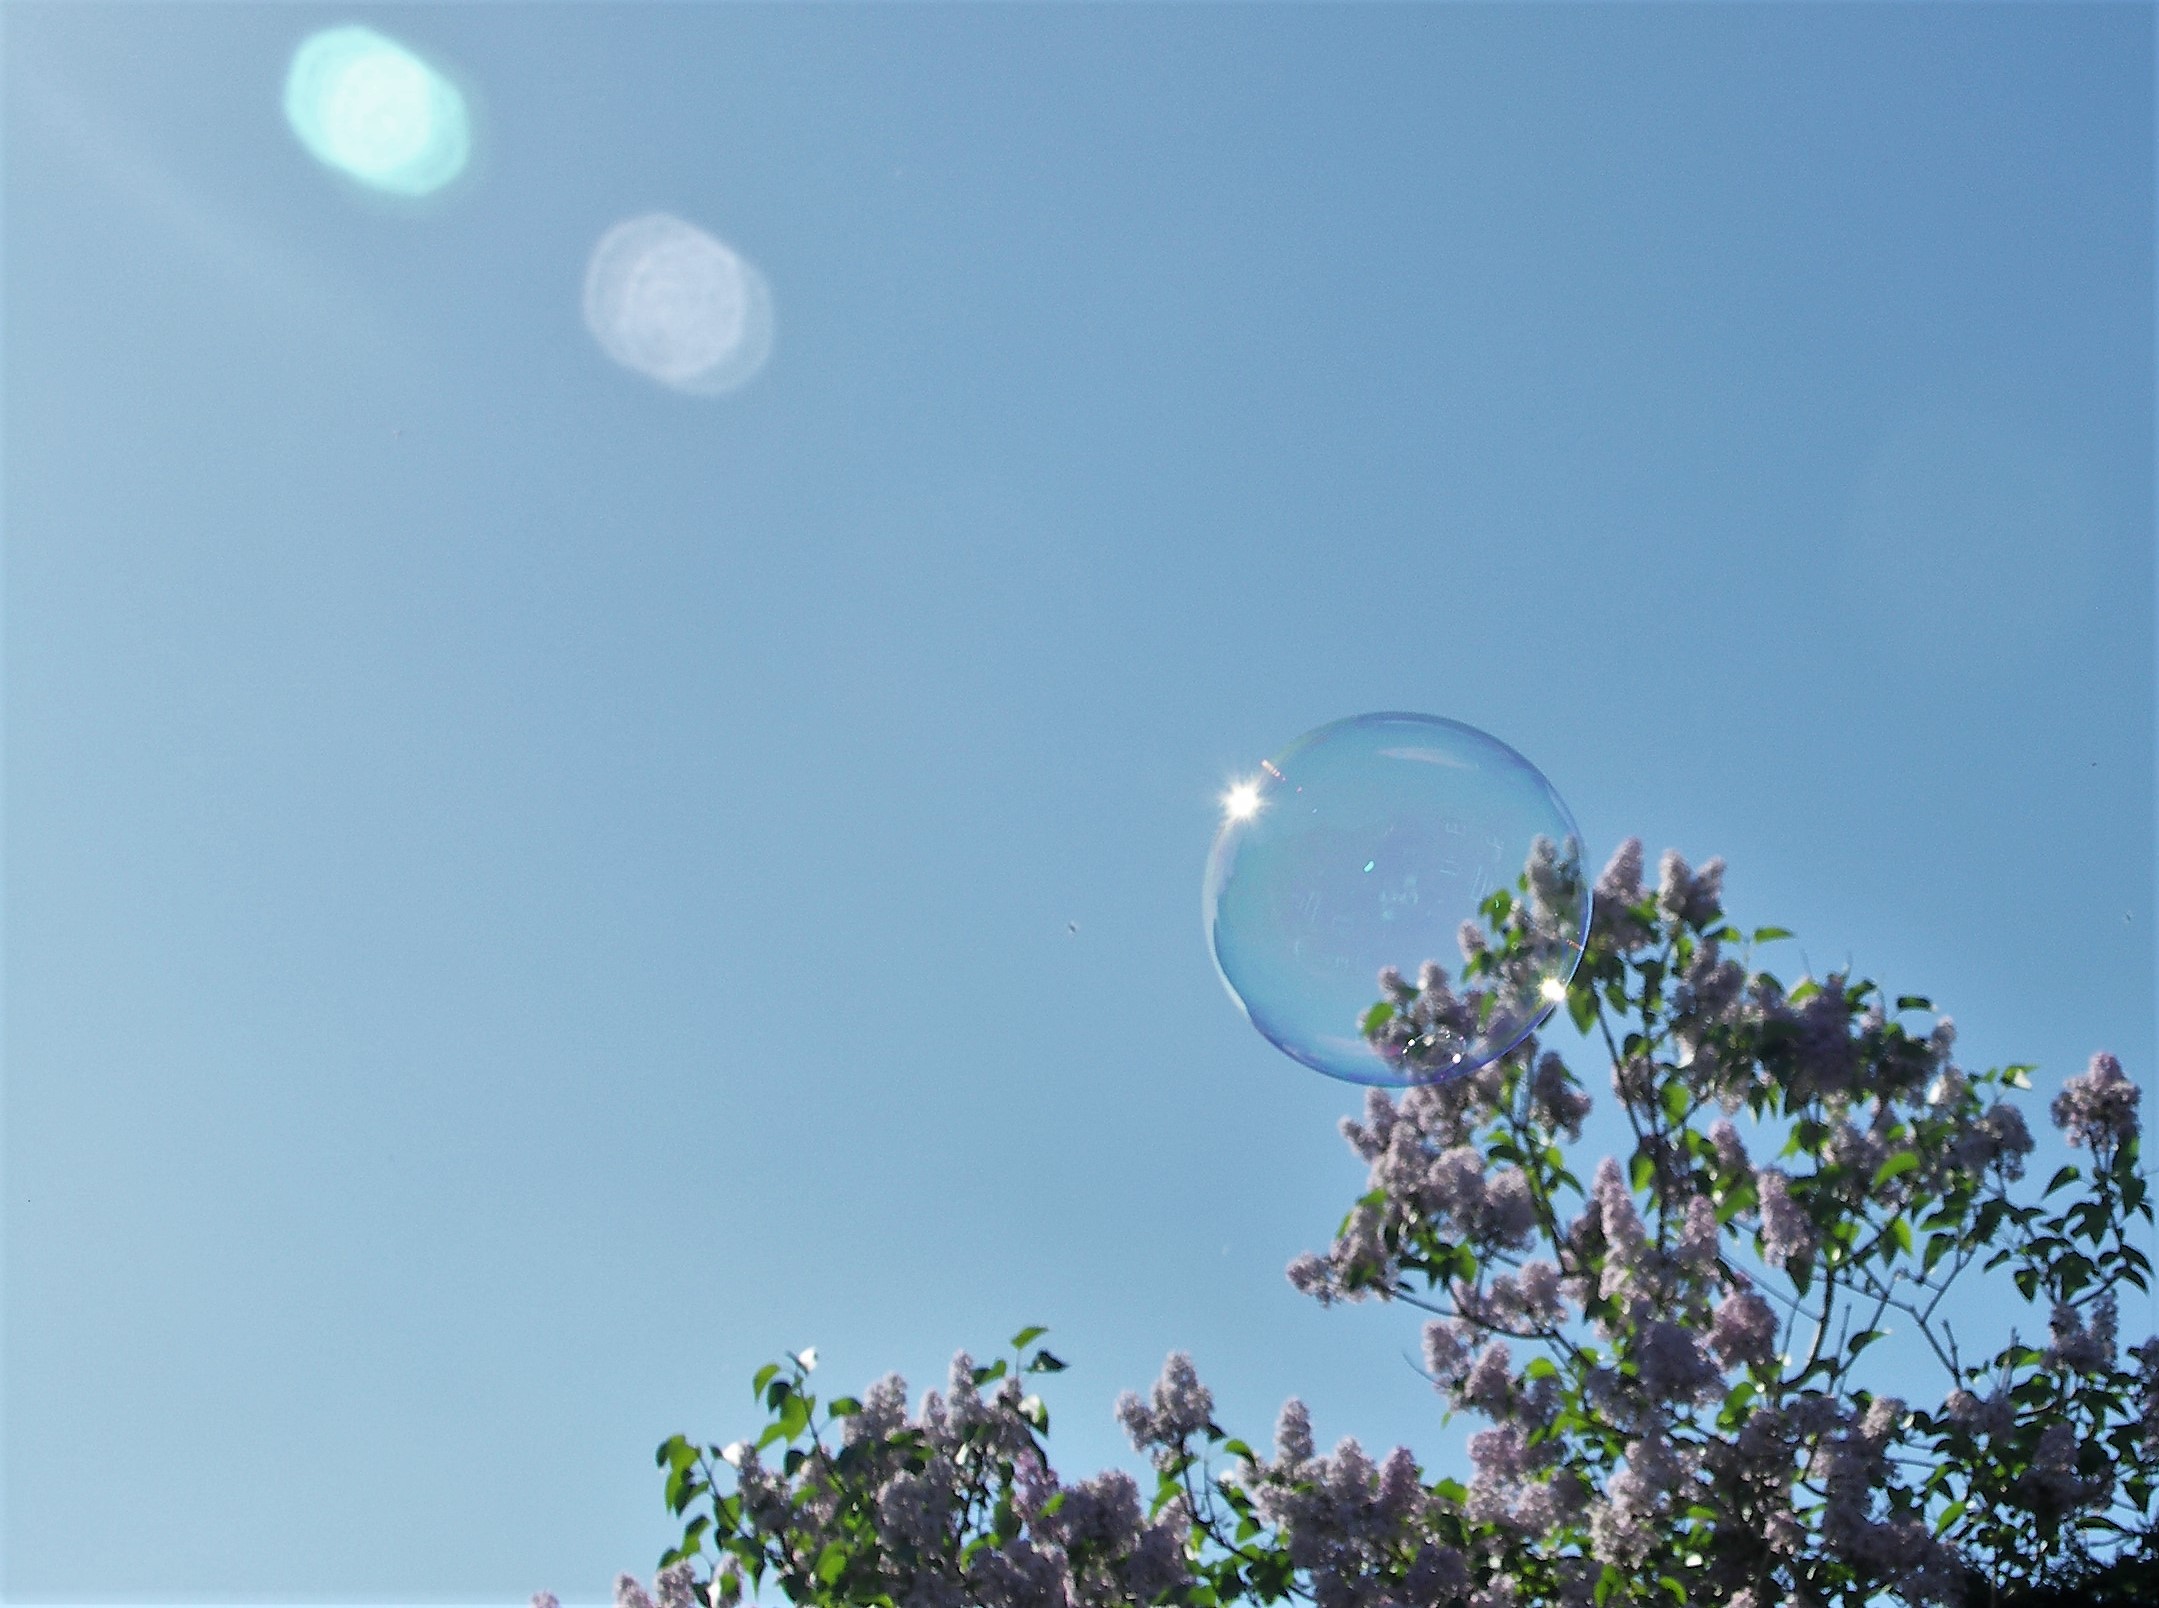


To try and get rainbows indoors, I set up a single, small light – it’s a lamp that has a really small bulb about 2 cm across so I end up with a spotlight effect – behind the camera and then leaned in to blow bubbles in front of the camera with the light shining through them. I put a big bit of white cardboard behind to show up the shadows from the bubbles and then played around with what I could make! You’ll see more of those later.
Bubbles on display
If you want a bubble to stick around for a while we need to stop it touching anything that will absorb the water from the bubble film! That means we need a hydrophobic surface – one that water can’t get into! I had a piece of packing foam from a delivery that water sat on in fat, round drops. As we know from another Xperimas post, those big round drops mean the surface is hydrophobic! So I blew a bubble gently onto the foam and here’s the result!

Bubbles inside bubbles
Start on a flat surface
This is the easiest of our bubble experiments.
There are plenty of examples of this out there – blow a bubble onto a wet surface and it will form into a hemisphere on that surface! You can use a plate filled with water or spray water onto a waterproof surface like tin foil, a kitchen worktop, a smooth table or some plastic sheeting. You’ll need to wet the surface thoroughly or else the bubble will pop! Bubble films cannot dry out or else they’ll burst.
Once you’ve blown the first bubble, drip a straw right down into the bubble mix so it is covered and then gently push the straw through the bubble and blow! You’ll make a second bubble inside the first.

Hard mode – floating bubbles inside bubbles!
Okay, this bubble experiment is a bit harder…
Since I had seen a lot of half-bubbles inside half-bubbles I thought I would try and make two round bubbles inside each other! I blew one bubble and then held it steady with another bubble blower covered in mix. Then I pushed the straw through and blew another bubble.

Here’s a video of the same thing…
Hourglass Bubbles
The last of our bubble experiments is all about the shapes that bubbles form.
So to push it even further and try and make some really strange shaped bubbles… I thought about trying to stretch out a bubble. But how can you get hold a bubble so you can pull on it and stretch it? Well if you cover your hands in bubble mix then you won’t pop the bubble when you touch it!


I blew a bubble onto my palm and then…. Well, just watch this video.
Try out some bubble experiments at home – please do share with me what you manage to make! Any rainbows are welcome, but so are square bubbles (they’re hard to do but it is possible) or any bubbles inside bubbles inside bubbles.. I definitely want to see them! Share them on twitter or instagram with #XPeriMas.
No responses yet